Adding Banner Alerts and Messages to Your Site

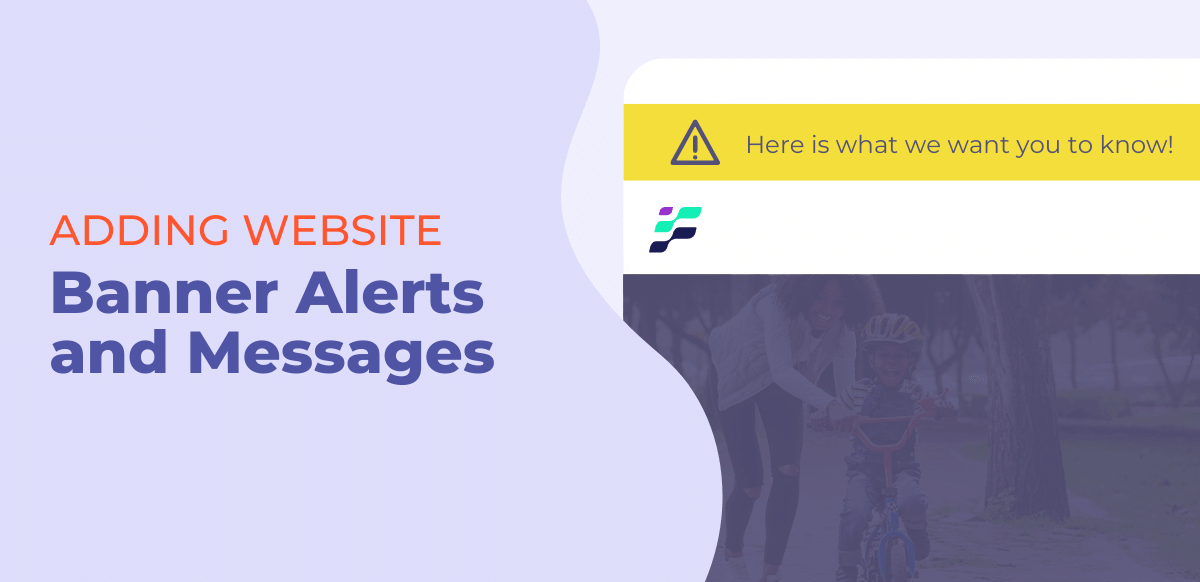
As a business, there are times when you have really important information that you need to share with your customers. There are several communication mediums that you can use to share this information, but one very effective way to do this is with an alert message on the top of your website also called banner alerts or banner notifications.
If your website is built on Sitefinity, you can create these banner notifications and you can also schedule them to publish and unpublish. Although this isn’t something that is offered out-of-the-box, you can get a Sitefinity developer to help design and configure this feature on your website.
This is a site we created on DXFusion, which is our digital experience platform built on Sitefinity that includes several custom widgets and modules, one of those being banner alerts and notifications. This demo site features a fictitious bank we call Fusion Financial.
You can see on the home page, this banner notification that says, “As of June 1, 2021, all of our lobbies are open for normal business.” Let’s go into the backend of Sitefinity to see how we can manage this alert and create a new notification.
From the Sitefinity Dashboard, you will go to the dropdown for content, and then select Alerts.
On this screen, you will see all the alerts you have created.
We have one banner alert published, which is the one we just showed on our home page.
If I want to unpublish this alert, under actions I can choose to unpublish it or I can schedule a date that I want this alert to be unpublished on my site.
To create a new banner alert or notification, we will go to “Create an Alert”.
Since scams are common in the financial industry, we want to create an alert for our customers to remind them about potential scams and share a blog article that will share tips on how they can protect themselves from fraud.
We will give this alert a title and name it “Fraud reminder”.
We will then type in our message which will be, “Smooth Fusion will never ask you for your account information or PIN. If you ever receive a suspicious call, email, or text then contact us immediately. Learn how to protect yourself from fraud.”
In Sitefinity, you can also add links within your banner notification. We want to link “contact us” to our contact page or if your bank has a specific form or department that a customer can report fraud to you can add that here.
We also want to send our customers to a blog post we did that gives them tips to protect themselves from scammers and other fraud, so we will link this text here to that blog post.
In this next field, you can add an icon. This field uses Font Awesome icons, so all you need to do is find the icon you want, copy the class name, and then paste it into the field.
This next field gives you the option to select a theme color for the banner alert.
Now if we go to the design system or UI toolkit that our team created for this site and go to “Alerts”, you will find what each of these theme colors will look like.
Under more options, you will see that Sitefinity automatically sets the URL of this content to whatever you added as the title.
Now, when it comes time to publish your banner alert, we can publish it right away by clicking on the publish button or we can schedule our alert to publish on a specific day and even at a specific time. You can also add an unpublish date so it will take this message off your site automatically.
We are going to just go ahead and publish this message to our site now so we can see what it looks like.
Let’s go to our homepage and then refresh it to see the changes. And there is our new banner alert is live on our site.
If you have any questions on this topic specifically or any other questions about Sitefinity, then you can reach out to us by filling out a form on our website or you can drop a question in the comments below our video on YouTube.
And that’s the Sitefinity Minute.


